검색결과 리스트
글
android GUI vs XML (android/samples/app)
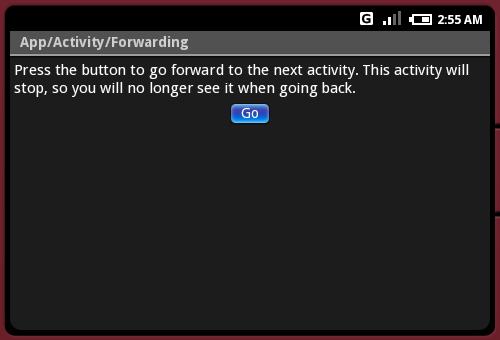
forwarding.xml
android:gravity="center_horizontal"
android:layout_width="fill_parent" android:layout_height="fill_parent">
<TextView
android:layout_width="fill_parent" android:layout_height="wrap_content"
android:layout_weight="0"
android:paddingBottom="4dip"
android:text="@string/forwarding"/>
<Button id="@+id/go"
android:layout_width="wrap_content" android:layout_height="wrap_content"
android:text="@string/go">
<requestFocus />
</Button>
</LinearLayout>
-----------------------------------------------------------------------------------------------------
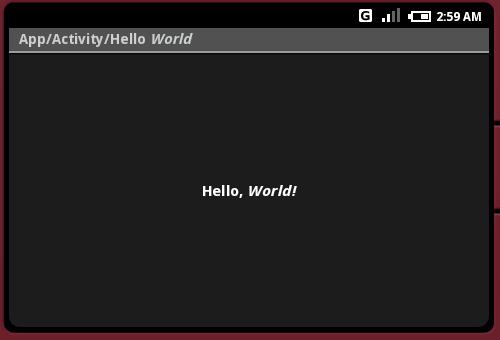
2. hello_world.xml
<TextView xmlns:android="http://schemas.android.com/apk/res/android" id="@+id/text"
android:layout_width="fill_parent" android:layout_height="fill_parent"
android:gravity="center_vertical" android:textAlign="center"
android:text="@string/hello_world"/>
-----------------------------------------------------------------------------------------------------
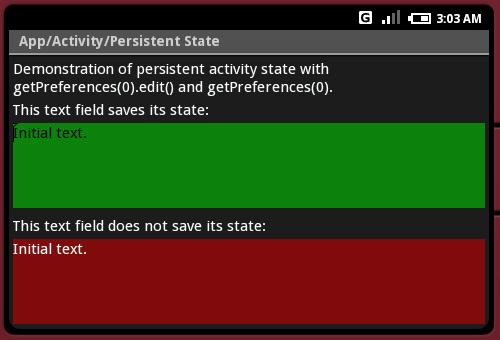
3. save_restore_state.xml
android:layout_width="fill_parent" android:layout_height="fill_parent">
<TextView id="@+id/msg"
android:layout_width="fill_parent" android:layout_height="wrap_content"
android:layout_weight="0"
android:paddingBottom="4dip" />
<TextView
android:layout_width="fill_parent" android:layout_height="wrap_content"
android:layout_weight="0"
android:paddingBottom="4dip"
android:text="@string/saves_state"/>
<EditText id="@+id/saved"
android:layout_width="fill_parent" android:layout_height="wrap_content"
android:layout_weight="1"
android:background="@drawable/green"
android:text="@string/initial_text">
<requestFocus />
</EditText>
<TextView
android:layout_width="fill_parent" android:layout_height="wrap_content"
android:layout_weight="0"
android:paddingTop="8dip"
android:paddingBottom="4dip"
android:text="@string/no_saves_state"/>
<EditText
android:layout_width="fill_parent" android:layout_height="wrap_content"
android:layout_weight="1"
android:background="@drawable/red"
android:text="@string/initial_text">
</EditText>
</LinearLayout>
-----------------------------------------------------------------------------------------------------
4. receive_result.xml
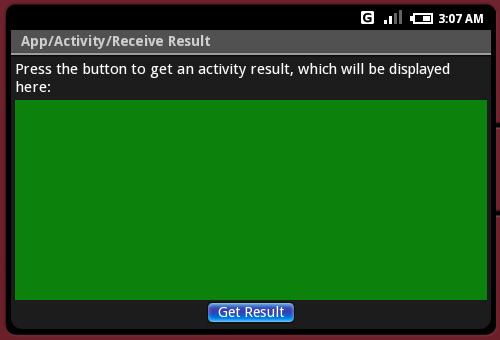
<LinearLayout xmlns:android="http://schemas.android.com/apk/res/android" android:orientation="vertical" android:padding="4dip"
android:gravity="center_horizontal"
android:layout_width="fill_parent" android:layout_height="fill_parent">
<TextView
android:layout_width="fill_parent" android:layout_height="wrap_content"
android:layout_weight="0"
android:paddingBottom="4dip"
android:text="@string/receive_result_instructions"/>
<TextView id="@+id/results"
android:layout_width="fill_parent" android:layout_height="10dip"
android:layout_weight="1"
android:paddingBottom="4dip"
android:background="@drawable/green">
</TextView>
<Button id="@+id/get"
android:layout_width="wrap_content" android:layout_height="wrap_content"
android:layout_weight="0"
android:text="@string/receive_result_result">
<requestFocus />
</Button>
</LinearLayout>
-----------------------------------------------------------------------------------------------------
5. redirect_enter.xml
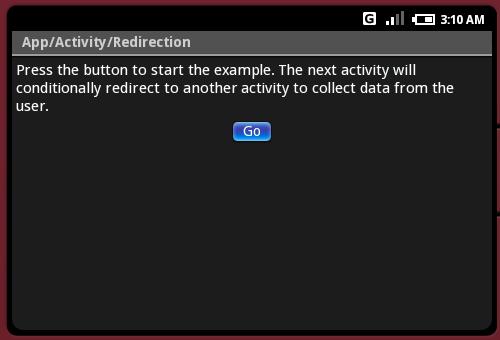
<LinearLayout xmlns:android="http://schemas.android.com/apk/res/android" android:orientation="vertical" android:padding="4dip"
android:gravity="center_horizontal"
android:layout_width="fill_parent" android:layout_height="fill_parent">
<TextView
android:layout_width="fill_parent" android:layout_height="wrap_content"
android:layout_weight="0"
android:paddingBottom="4dip"
android:text="@string/redirect_enter"/>
<Button id="@+id/go"
android:layout_width="wrap_content" android:layout_height="wrap_content"
android:text="@string/go">
<requestFocus />
</Button>
</LinearLayout>
-----------------------------------------------------------------------------------------------------
6. translucent_background.xml
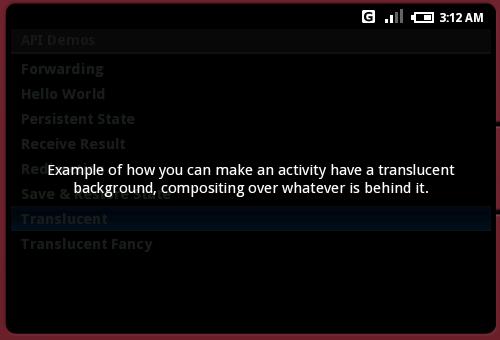
android:layout_width="fill_parent" android:layout_height="fill_parent"
android:gravity="center_vertical" android:textAlign="center"
android:text="@string/translucent_background"/>
-----------------------------------------------------------------------------------------------------
7. TranslucentFancyActivity.java
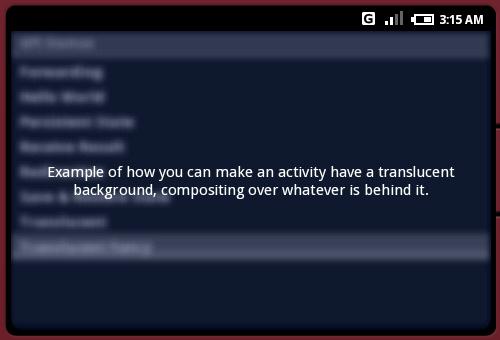
protected void onCreate(Bundle icicle)
{
// Be sure to call the super class.
super.onCreate(icicle);
// Have the system blur any windows behind this one.
getWindow().setFlags(WindowManager.LayoutParams.BLUR_BEHIND_FLAG,
WindowManager.LayoutParams.BLUR_BEHIND_FLAG);
// Apply a tint to any windows behind this one. Doing a tint this
// way is more efficient than using a translucent background. Note
// that the tint color really should come from a resource.
WindowManager.LayoutParams lp = getWindow().getAttributes();
lp.tintBehind = 0x60000820;
getWindow().setAttributes(lp);
// See assets/res/any/layout/translucent_background.xml for this
// view layout definition, which is being set here as
// the content of our screen.
setContentView(R.layout.translucent_background);
}